Biobrick delivery
From 2006.igem.org
| Line 1: | Line 1: | ||
<font color="red">'''Important Note'''</font>: Some parts may not return an iGEM 2006 Distribution plate result as a possible source for that part. It is a program glitch that is being worked on. (This has been fixed Tuesday evening - randy) | <font color="red">'''Important Note'''</font>: Some parts may not return an iGEM 2006 Distribution plate result as a possible source for that part. It is a program glitch that is being worked on. (This has been fixed Tuesday evening - randy) | ||
| - | + | __TOC__ | |
One of the resources that MIT provides teams competing in iGEM is a copy of parts that have been submitted to the Registry. These parts also include those that were submitted as a result of previous iGEM competitions (a big reason why we want you to keep on top of [http://partsregistry.org/Help:How_to_send_parts sending] us your parts as you create them!). For iGEM 2006, the Registry will send out parts in the form of dried DNA. | One of the resources that MIT provides teams competing in iGEM is a copy of parts that have been submitted to the Registry. These parts also include those that were submitted as a result of previous iGEM competitions (a big reason why we want you to keep on top of [http://partsregistry.org/Help:How_to_send_parts sending] us your parts as you create them!). For iGEM 2006, the Registry will send out parts in the form of dried DNA. | ||
| Line 13: | Line 13: | ||
| - | + | ====What do we do with this plate once we have received it?==== | |
| - | + | As soon as you receive your plate put the plate, still in the freezer bag, into the freezer (-20 degrees or -80 degrees)!! | |
| - | + | ====What do we do when we want to use the DNA?==== | |
| - | + | The DNA in each well needs to be resuspended. To do this you must: | |
:# Puncture a hole through the foil with a pipette tip (be sure you have the correct well) | :# Puncture a hole through the foil with a pipette tip (be sure you have the correct well) | ||
:# Add 15 ul of diH2O | :# Add 15 ul of diH2O | ||
| Line 29: | Line 29: | ||
| - | + | ====What is that red (or orange) stuff at the bottom of the wells?==== | |
| - | + | What you see at the bottom of the wells is your dried DNA (see picture of "bottom-view" above). It is color-coded with food coloring according to our [http://partsregistry.org/Help:How_to_make_agar standard color key]. iGEM 2006 DNA-1 contains parts that are all resistant to Ampicillin. iGEM 2006 DNA-2 contains a mixture of parts that may be resistant to either Ampicillin, Amp-Kanamycin, or Kanamycin. Use the [http://partsregistry.org/cgi/assembly/libraries.cgi?id=6 Registry repository] to find out the antibiotic resistance for your biobrick part of choice. | |
| - | + | ====How do we know what the DNA is in each well?==== | |
| - | + | You can see what is in your DNA distribution plates in two ways. By going to [http://partsregistry.org/cgi/assembly/libraries.cgi?id=6 this page] on the Registry you can either: | |
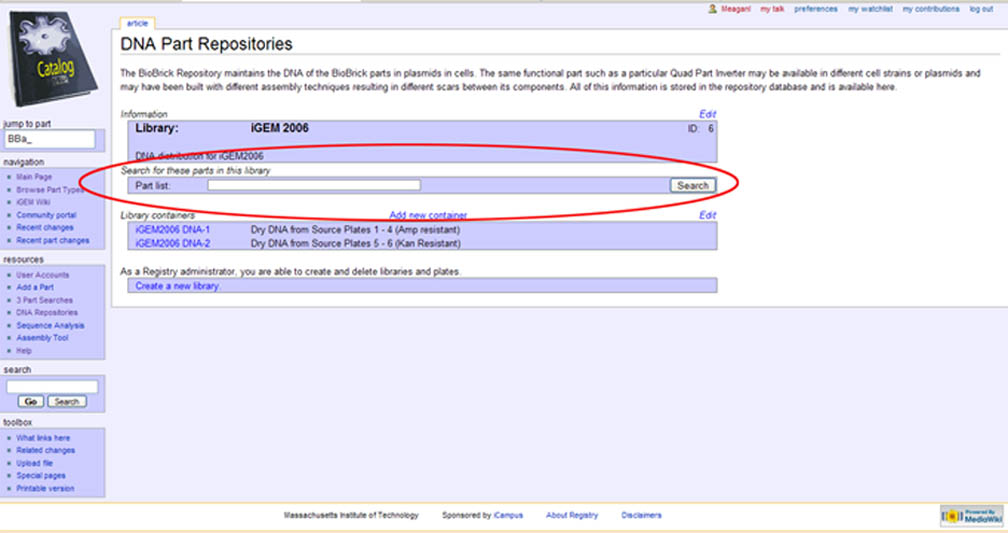
<br>1. Search for a specific part by entering the part number in the search field (circled in red): | <br>1. Search for a specific part by entering the part number in the search field (circled in red): | ||
[[Image:SearchRepository.jpg]] | [[Image:SearchRepository.jpg]] | ||
| Line 43: | Line 43: | ||
| - | + | ====How do we know which well on the plate to puncture and resuspend?==== | |
| - | + | Both of the DNA Distribution plate are Nunc 384-well plates. Unfortunately, the foil cover goes over the column and well markings. Once you have found out which well your biobrick part of choice is in (for example let's say I want BBa_S01987) by searching for it in the Registry (well 13H in plate iGEM 2006 DNA-1) you want to count across the plate starting with Column 1 until you get to Column 13 and down the plate starting with Row A until you get to Row H. | |
[[Image:IGEM06DistPlateTop.jpg|left|thumb|300px|Top view of plates containing dry DNA; <font color="red">red</font> circle indicates well 13H]] | [[Image:IGEM06DistPlateTop.jpg|left|thumb|300px|Top view of plates containing dry DNA; <font color="red">red</font> circle indicates well 13H]] | ||
<br>'''MAKE SURE that the two notched corners of the plate are the BOTTOM two corners (see the top view image at left for correct orientation)''' | <br>'''MAKE SURE that the two notched corners of the plate are the BOTTOM two corners (see the top view image at left for correct orientation)''' | ||
Revision as of 15:31, 31 May 2006
Important Note: Some parts may not return an iGEM 2006 Distribution plate result as a possible source for that part. It is a program glitch that is being worked on. (This has been fixed Tuesday evening - randy)
Contents |
One of the resources that MIT provides teams competing in iGEM is a copy of parts that have been submitted to the Registry. These parts also include those that were submitted as a result of previous iGEM competitions (a big reason why we want you to keep on top of [http://partsregistry.org/Help:How_to_send_parts sending] us your parts as you create them!). For iGEM 2006, the Registry will send out parts in the form of dried DNA.
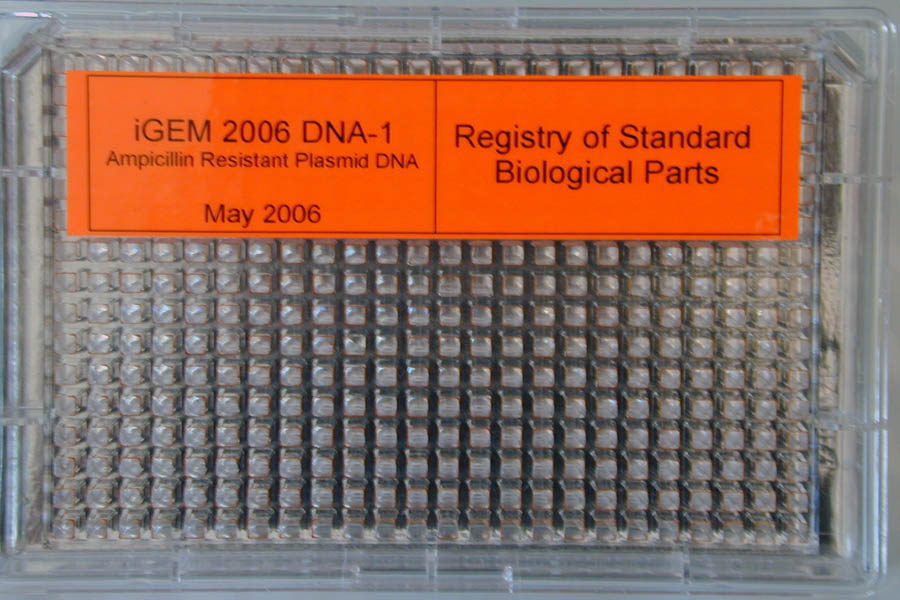
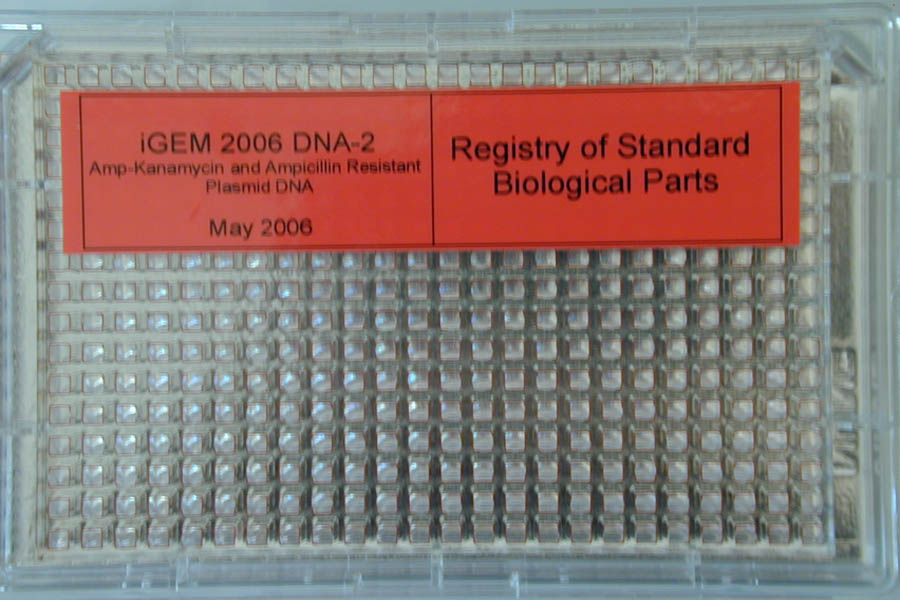
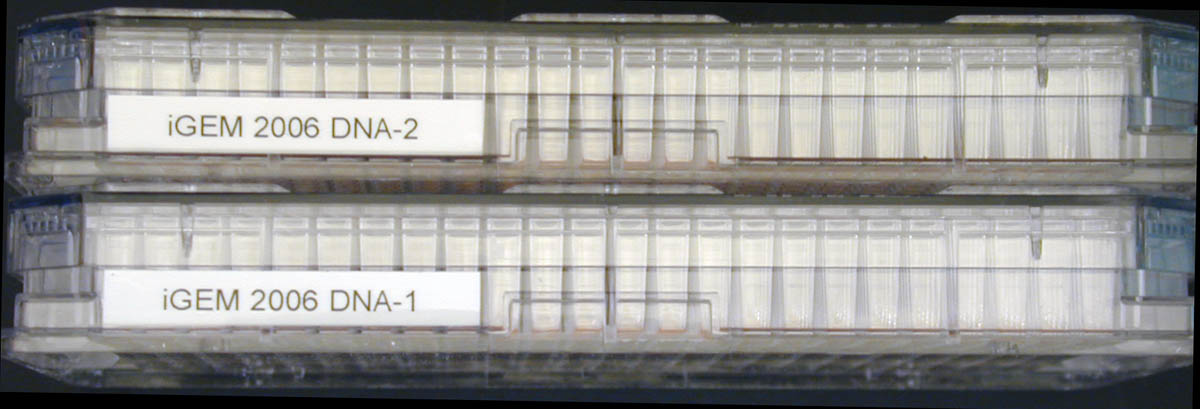
Plates are being sent out starting 26 May 2006. We need your shipping address in order to ship your DNA Distribution Plates!! Fill it out [http://igem.org here] (you need a valid [http://partsregistry.org Registry] account). When we have a proper shipping address for your team, you will receive a package containing two plates that looks like this:
What do we do with this plate once we have received it?
As soon as you receive your plate put the plate, still in the freezer bag, into the freezer (-20 degrees or -80 degrees)!!
What do we do when we want to use the DNA?
The DNA in each well needs to be resuspended. To do this you must:
- Puncture a hole through the foil with a pipette tip (be sure you have the correct well)
- Add 15 ul of diH2O
- Take 1ul DNA and [http://openwetware.org/wiki/Bacterial_Transformation transform] into your favorite competent cells, plate out on a plate with the correct antibiotic and grow overnight. Your goal here is to obtain single colonies.
- Pick a single colony and inoculate some broth (with the correct antibiotic) and grow ~18 hours.
- Use the resulting culture to miniprep AND make your own glycerol stock (for further instruction on making a glycerol see [http://openwetware.org/wiki/Endy:Making_a_long_term_stock_of_bacteria this page]).
This DNA is your own collection of exisiting parts that you can use to create your own new parts. By making your own glycerols you now have your own stock to go back to and grow/prep whenever you need that particular part.
What is that red (or orange) stuff at the bottom of the wells?
What you see at the bottom of the wells is your dried DNA (see picture of "bottom-view" above). It is color-coded with food coloring according to our [http://partsregistry.org/Help:How_to_make_agar standard color key]. iGEM 2006 DNA-1 contains parts that are all resistant to Ampicillin. iGEM 2006 DNA-2 contains a mixture of parts that may be resistant to either Ampicillin, Amp-Kanamycin, or Kanamycin. Use the [http://partsregistry.org/cgi/assembly/libraries.cgi?id=6 Registry repository] to find out the antibiotic resistance for your biobrick part of choice.
How do we know what the DNA is in each well?
You can see what is in your DNA distribution plates in two ways. By going to [http://partsregistry.org/cgi/assembly/libraries.cgi?id=6 this page] on the Registry you can either:
1. Search for a specific part by entering the part number in the search field (circled in red):
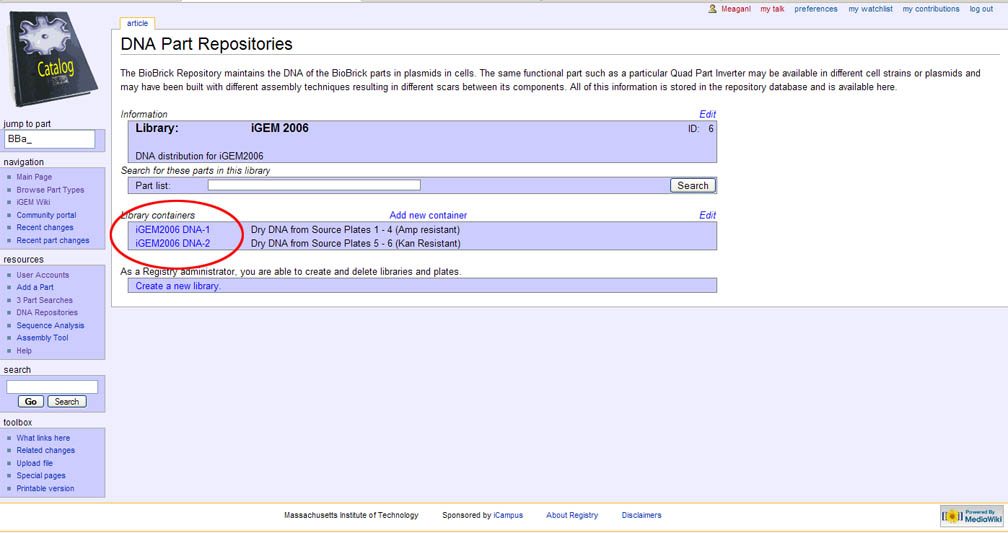
2. Or, browse all the biobrick parts in each particular plate by clicking in either one of the two Library containers:
How do we know which well on the plate to puncture and resuspend?
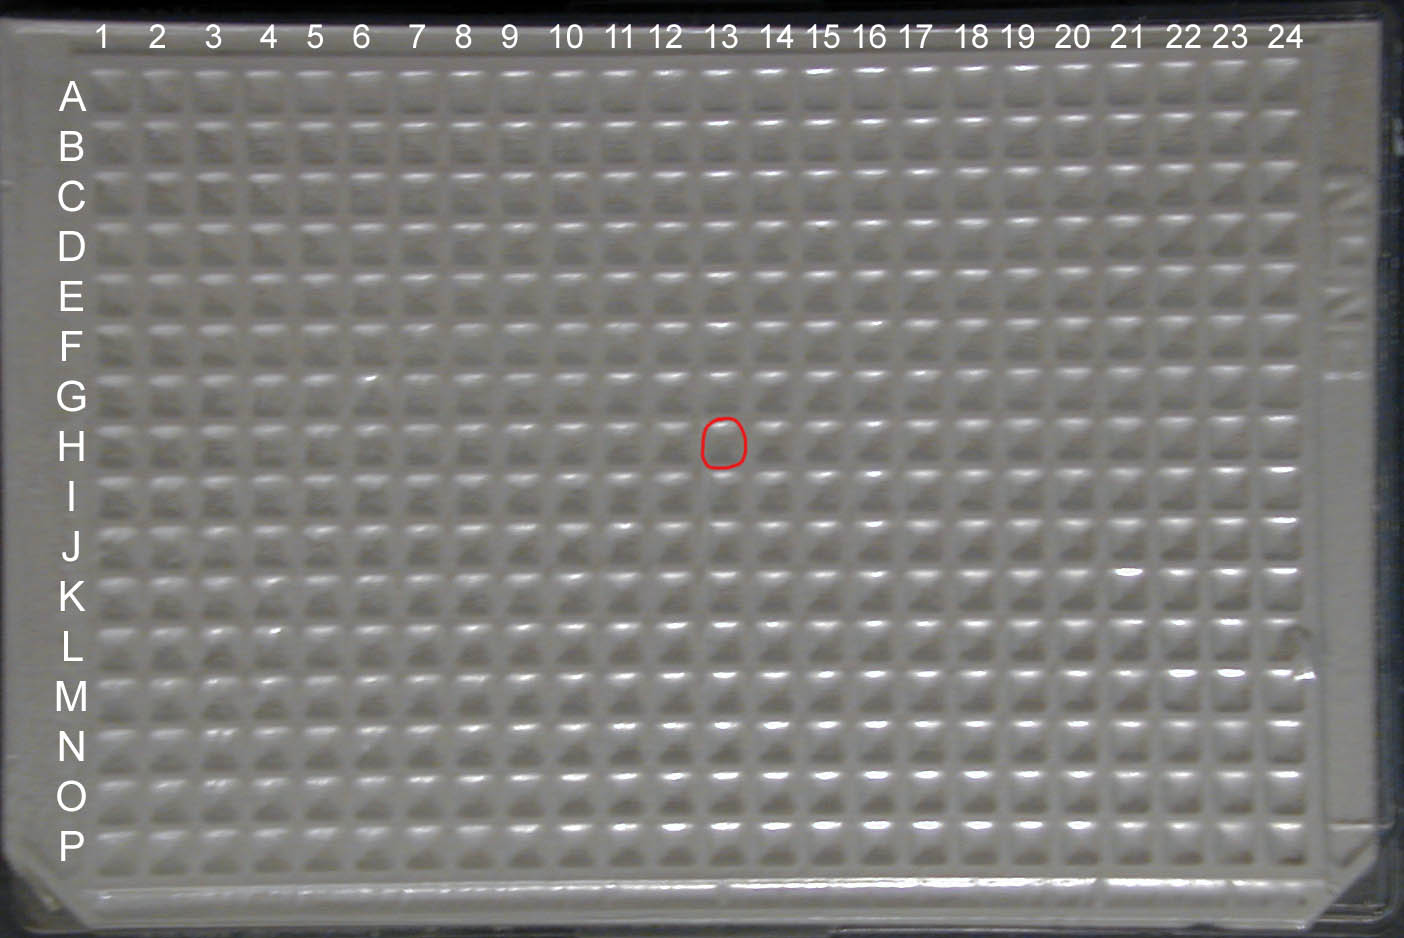
Both of the DNA Distribution plate are Nunc 384-well plates. Unfortunately, the foil cover goes over the column and well markings. Once you have found out which well your biobrick part of choice is in (for example let's say I want BBa_S01987) by searching for it in the Registry (well 13H in plate iGEM 2006 DNA-1) you want to count across the plate starting with Column 1 until you get to Column 13 and down the plate starting with Row A until you get to Row H.
MAKE SURE that the two notched corners of the plate are the BOTTOM two corners (see the top view image at left for correct orientation)
